
DISCLOSURE: THIS POST MAY CONTAIN AFFILIATE LINKS, MEANING I GET A COMMISSION IF YOU DECIDE TO MAKE A PURCHASE THROUGH MY LINKS, AT NO COST TO YOU.
One of the best things I did this year (so far…as it’s still early after all!) is set up my blog and commit to blogging at least twice a week. Consistent blogging is helping me achieve my number one stretch goal this year: to help as MANY agents as I can get the tools they need to become successful. Blogging allows me to reach a ton of people while also putting the care and thought into my content that my clients and followers deserve.
That’s why I decided to spill the tea on how to start a blog – to give you everything you need to get started with your own blog today. The below guide details exactly what I did to get set up with my domain name and site host, and what I recommend you do to get started with your own.
Choose Your Domain Name
The first step is picking your domain name, a.k.a what users type into the browser search bar to navigate to your site. My domain name, for example, is “tuesdayteawithyasha”. To find yours, brainstorm tons of different ideas, and then choose your favorite. Ask your friends what they like best and see what sticks. Keep your list handy because you might need backups if someone else has already claimed your first choice of domain. Try to pick something that is easy to remember and spell. Simple is best.
Pick Your Platform
There are many different platforms you can use to build your blog, and it can quickly become overwhelming. I choose WordPress.org and would recommend you do the same. I find it gives a ton of different customization options while still being intuitive to use. If you don’t want to go with WordPress for whatever reason, check out SquareSpace or Wix (but I won’t be able to give you any further tips on using those).
Purchase Your Web Hosting & Domain Name
This can get a bit confusing, but stick with me. You will need to purchase both your domain name AND your web host. You will eventually need to update your domain name settings and point it to your web hosting provider. This can get a bit technical depending on your tech-saviness, but don’t worry…both BlueHost’s and WordPress’s customer service is top notch, so just reach out to them if you get stuck.
I used BlueHost for my domain name; I decided to go with them due to their quick customer service, competitive price, and easy integration with WordPress. Click here to get set up with your domain name on BlueHost.
Here’s what you do from there:
Click on the blue “Get Started” button.

Choose your plan. You can take a look at the different options, but I think the basic plan fits most needs.

Here’s where you’ll take the domain name that you chose from earlier–In the “Create a New Domain” box, type in what you choose. It will tell you if it’s already taken.

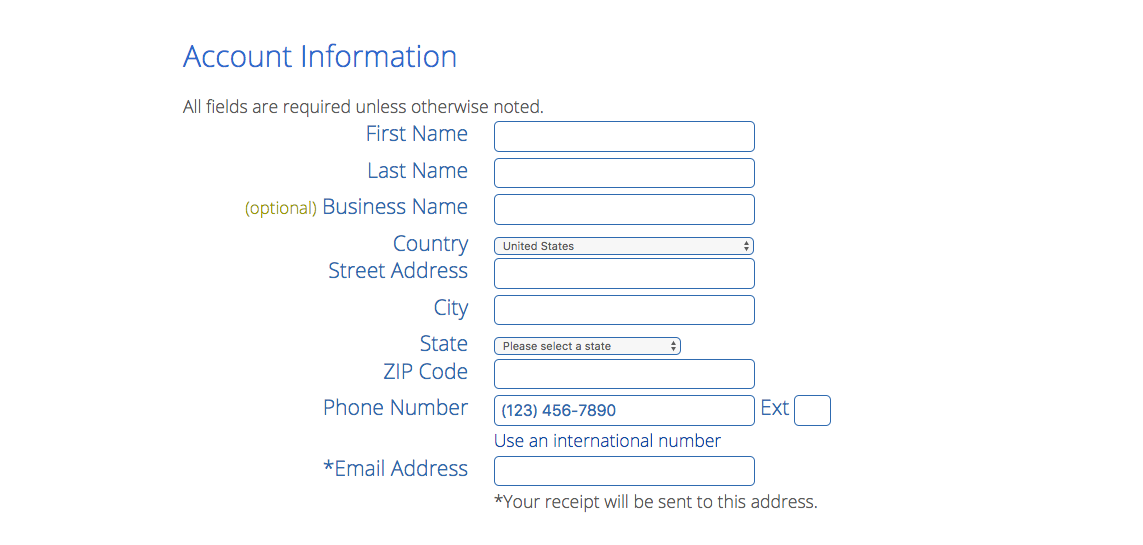
Fill in your info in the “account information” section, choose any extras (if you want them…I don’t think you need them to start), add a password, and then you’re good to go!
CONNECT WORDPRESS
After you get your domain purchased, you’ll need to install your host, WordPress, on your site. This is what I use to host and design my blog. Here you’ll choose your theme and build all your content.
You will need to pick a theme, but don’t freak out…you can easily change this any time you want.

You’ll be able to manage your website from WordPress. See what the backend looks like below:
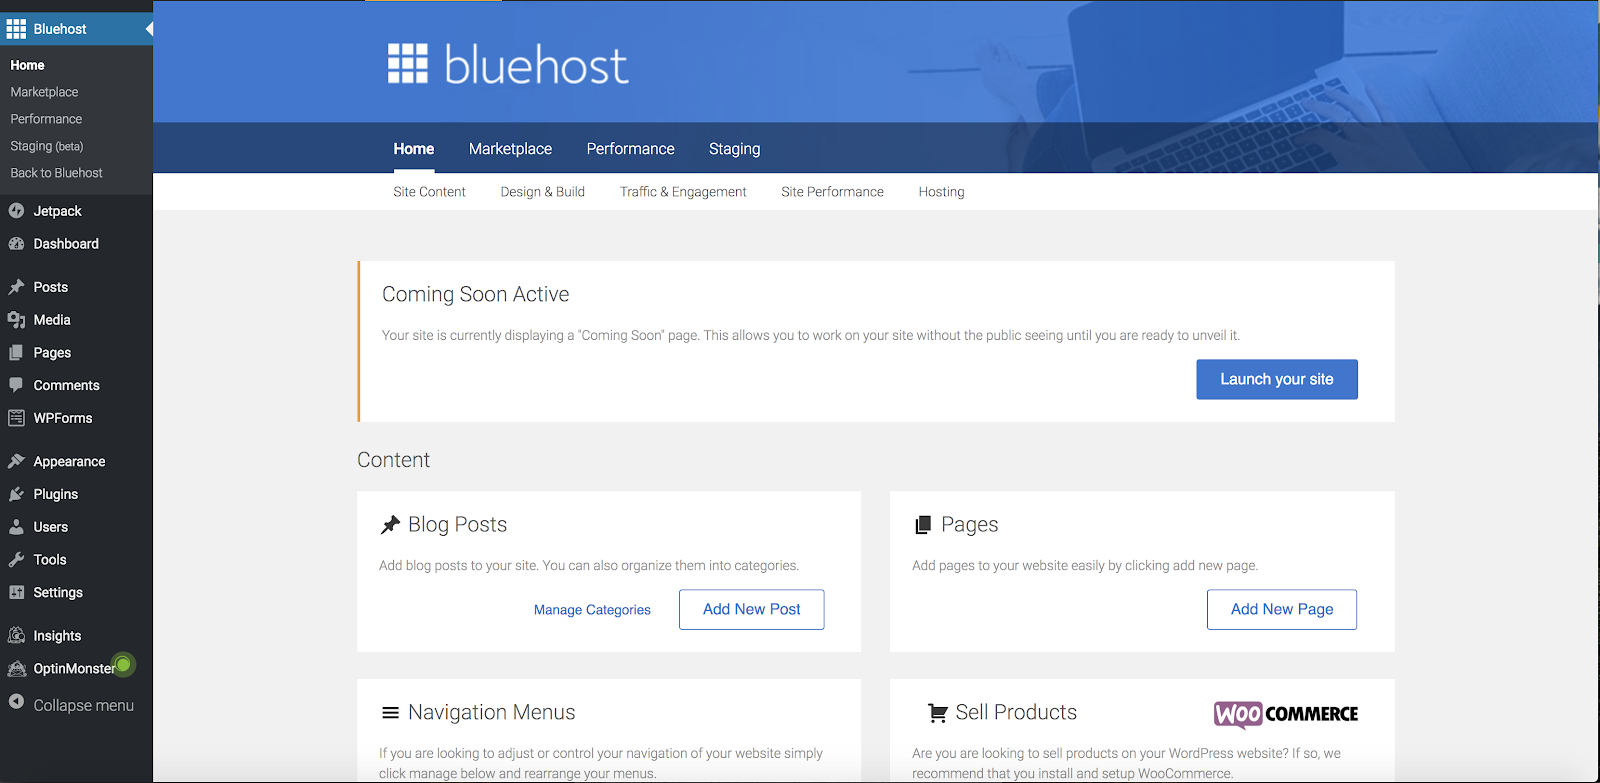
And you’re set up! I told you it was easy. You should then familiarize yourself as much as you can with WordPress. Here are a few WordPress tips:
- Find pretty much everything you need on the left. Here’s where you change your theme or add a new blog post, for example.
- Media is where you’ll upload images, pictures, videos, PDFs, or other media content.
- Appearance is where you can change your theme (you can even upload one, but that’s a bit more advanced). You can also add widgets here.
- Plugins are add-ons to your site that allow you to do things like add your social media feeds, enable social sharing, and more. There are a ton of plugins you can install, so I’d recommend using your friend Google to see which ones you might be interested in.
I hope this helps inspire you to set up your very own blog. It’s an incredible tool as a real estate agent, and something that is an absolutely necessity in today’s world. Continue to check back here for additional tips to help you grow your business, and click here to get set up with your domain name on BlueHost.


share on social